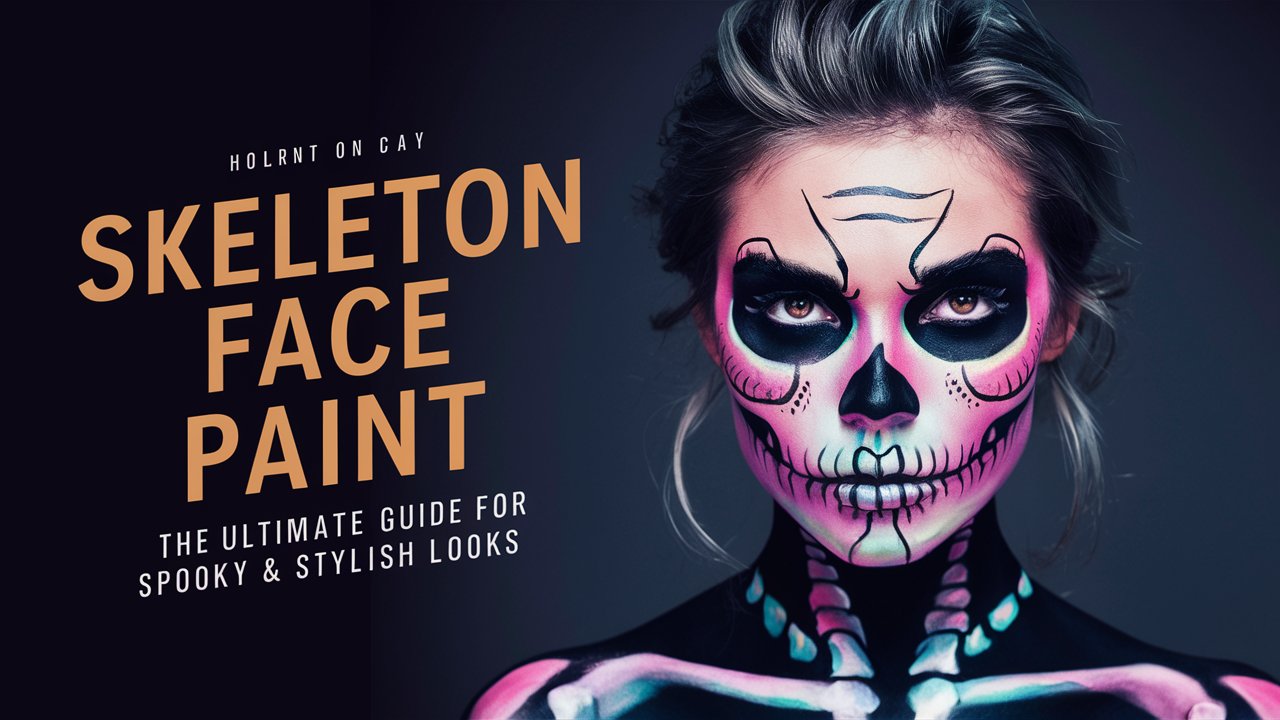
Skeleton face paint is one of the most iconic and timeless makeup designs for Halloween, cosplay, and themed parties like Día de los Muertos (Day of the Dead). With its bold contrast and eerie aesthetic, this face paint look can be tailored to appear terrifying, elegant, glamorous, or even cute, depending on your artistic direction. Whether you’re a beginner experimenting for the first time or a makeup artist seeking to refine your technique, this guide will walk you through everything you need to know—from choosing the right products to mastering application techniques and exploring creative ideas. Let’s transform your face into a beautifully haunting masterpiece.
Understanding Skeleton Face Paint: History & Cultural Relevance
Skeleton imagery is deeply rooted in both Western and Latin American traditions. While in Halloween culture, the skull or skeleton represents spookiness and horror, in Mexican culture, skeletons and skulls (calaveras) are symbols of life, remembrance, and celebration, especially during Day of the Dead festivities. Learning the cultural nuances helps in choosing the right style, whether it’s a horror-inspired hollow skull or a decorative sugar skull painted with vibrant colors and floral patterns.
Essential Tools & Products for Skeleton Face Painting
To achieve a detailed and smudge-resistant skeleton face paint, it’s crucial to invest in high-quality products. Here are the must-haves:
-
White Face Paint – Acts as the base for most skeleton designs. Opt for water-activated or cream-based paints.
-
Black Face Paint or Eyeliner – For defining the hollow areas like eyes, nose, and cheekbones.
-
Makeup Brushes & Sponges – Use different sizes for base application, detailing, and blending.
-
Setting Powder or Spray – Helps lock in your face paint for all-night wear.
-
Optional Accessories – Rhinestones, colored paints, glitter, and stencils for advanced designs or glam skeleton looks.
Ensure the paints you use are non-toxic, especially if painting on children or wearing the design for long hours.
Step-by-Step Guide: How to Do Skeleton Face Paint
-
Prep Your Face
Start by cleansing your skin and applying a lightweight moisturizer or primer. This ensures smoother application and prevents the paint from cracking or wearing off too soon. -
Apply the Base Color
Using a sponge or foundation brush, apply a solid layer of white paint across your entire face. Let it dry completely before moving on. -
Outline the Skull Features
With a black eyeliner pencil or thin brush dipped in black paint, sketch the skull’s eye sockets, nose cavity, and cheek hollows. Don’t worry about perfect symmetry—it’s supposed to look slightly imperfect for realism. -
Fill in the Details
Paint the inside of the outlines using a thicker black paint. Shade around the edges for depth. Add black vertical lines across the lips to mimic teeth. -
Add Shadows and Highlights
Use gray tones or blend black into white to contour your temples, jawline, and forehead. For extra realism, lightly blend around the edges of the sockets and cheekbones. -
Refine & Set
Use a setting powder or spray to seal your look. Touch up any areas that need sharpening or more definition.
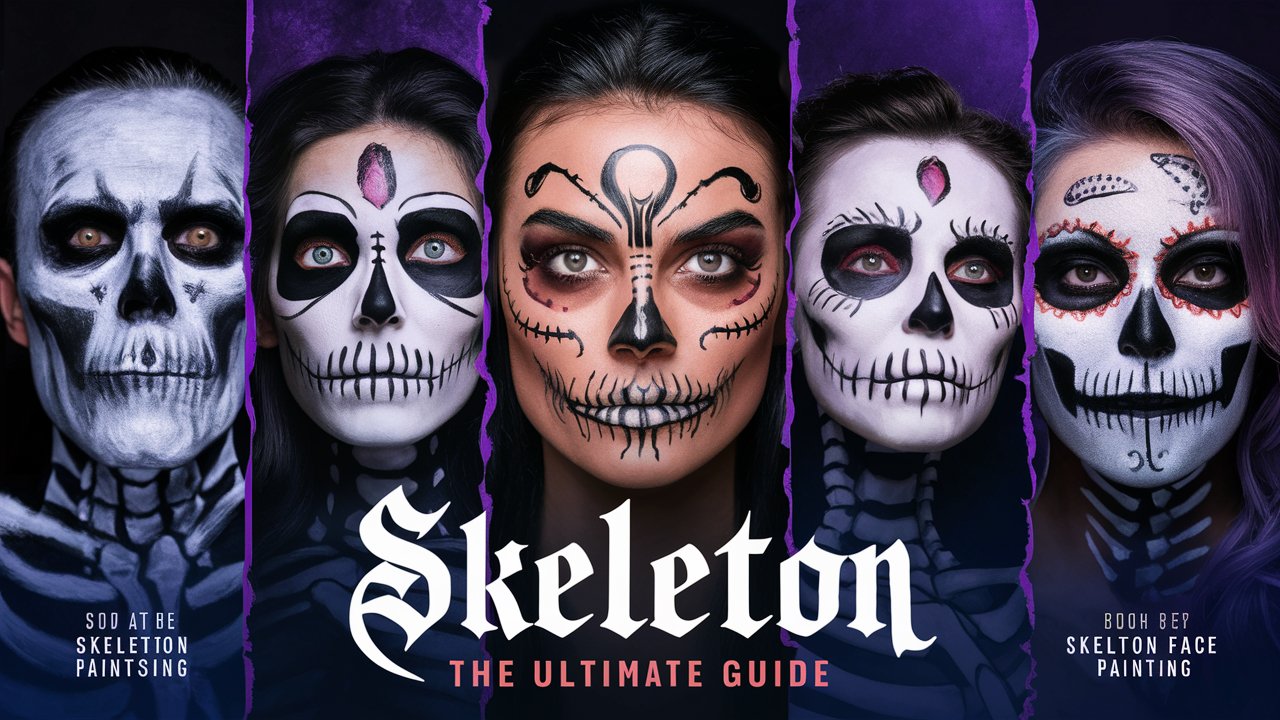
Creative Skeleton Face Paint Ideas for Inspiration
-
Classic Black-and-White Skull – Simple yet dramatic. Best for beginners.
-
Half-Face Skeleton – Only one side of your face painted, perfect for a more subtle or glamorous effect.
-
Sugar Skull (Calavera) – Incorporate bright colors, floral patterns, and gems. Ideal for Día de los Muertos celebrations.
-
Neon or Glow-in-the-Dark Skeleton – Perfect for clubs or nighttime events.
-
Glam Skeleton Look – Add glitter, contouring, and rhinestones for a fashionable twist on the traditional look.
Tips for Long-Lasting and Comfortable Wear
-
Avoid oil-based primers as they may cause the paint to slide.
-
Always set with powder if you’re using cream-based paints.
-
Keep a travel-sized setting spray with you to refresh throughout the night.
-
Choose sweat-proof formulas if you’re dancing or under hot lights.
-
Drink through a straw to avoid disrupting the mouth area.
Conclusion
Skeleton face paint is more than just a spooky costume—it’s a creative expression that blends art, culture, and transformation. From traditional skull makeup to modern glam skeleton designs, there’s a style for everyone. With the right tools, techniques, and a bit of inspiration, you can create a show-stopping look that turns heads and lasts all night. Whether you’re preparing for Halloween, a theatrical performance, or a themed event, skeleton face paint allows you to become a haunting work of art. So pick up that brush, and let your bone-chilling masterpiece come to life!
❓ Frequently Asked Questions (FAQ)
Q1. What kind of paint is safe for skeleton face painting?
A: Always use non-toxic, skin-safe face paints or professional-grade makeup brands. Avoid acrylic paints, as they’re not intended for skin use and may cause irritation.
Q2. How long does skeleton face paint last?
A: Depending on the product and setting method, it can last 4 to 12 hours. Use setting spray and avoid touching your face to extend wear time.
Q3. Can I do skeleton face paint without white base paint?
A: Yes, but the effect may be less dramatic. You can opt for a nude base or just outline features on bare skin for a minimalist design.
Q4. How do I remove skeleton face paint easily?
A: Use an oil-based makeup remover or cleansing balm. Gently massage into the skin and wipe with a warm, damp cloth. Follow with face wash and moisturizer.
Q5. Can I wear skeleton face paint with glasses or masks?
A: Absolutely. Just apply face paint around the areas that will be covered and ensure the paint is fully dry before putting anything on your face to prevent smudging.